

What’s in Your Eyeshadow?
Posted by Editor on Jul 16th, 2018 in Beauty | 0 commentsOne of the best ways to bring out the beauty of your eyes is through the application of eyeshadow. With so many colors and techniques nowadays when it comes to makeup, it’s not possible to transform into anything you want as long as you have the right skills. Part of your makeup skills, however, should be the information on the history, ingredients, and different application techniques of the eyeshadow.
How it Started
The earliest recorded use of an eyeshadow was found in ancient Egypt, where figures were depicted using kohl on their eyelids. The kohl, which is still used today, were made from lead, ochre, copper, chrysocolla ore, antimony, malachite, ash, and almonds.
The Greeks later used other ingredients to create various colors such as blue and green, while the Romans used materials, usually from stones and minerals, that would shimmer. Eyeshadow from Babylon and India also used plants, flowers, herbs, bird droppings, flour, and crushed stones to create a variety of colors. However, it wasn’t until the 1920s when cosmetic companies began creating safe eyeshadow.
The Common Ingredients
Despite the availability of safer ingredients to create makeup, some people still have allergies or adverse reactions to some of the ingredients. Unfortunately, the only way to know if a product is good on your skin is through a trial-and-error process. If you have sensitive skin, however, you must read the ingredients on the label before you try anything. After all, the eyes are one of the most sensitive parts on your body and it can serve as an entry point for harmful chemicals.
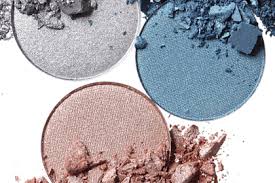
Most eyeshadows today are made from basic ingredients such as, the base filler (talc, mica, or kaolin clay), binders (magnesium or zinc), pigment, preservatives (glycol and tocopherol), and others such as nylon, silica, boron nitride, dimethicone, and bismuth oxychloride. However, cream eyeshadow and powder eyeshadow ingredients also differ slightly. Most eyeshadows contain one of the following: shea butter, beeswax, jojoba oil, castor oil, and silicone.
Some of the toxic ingredients you need to avoid are the following: bismuth oxychloride, aluminum powder, coal tar, formaldehyde, parabens, Nano particles, thimerosal, and talc. Look instead for the following ingredients: mica, iron oxides, zinc oxide, and titanium dioxide. Fortunately, there are beauty products that sell makeup for sensitive skin and allergy-prone skin, so you need not give up makeup altogether.
Proper Use or Application
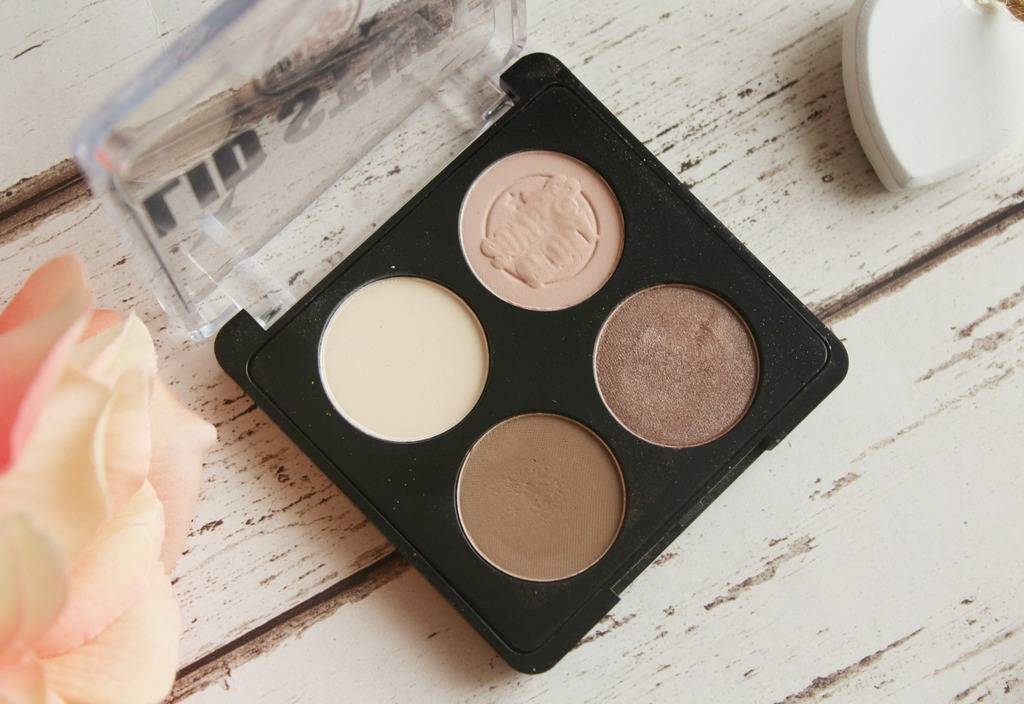
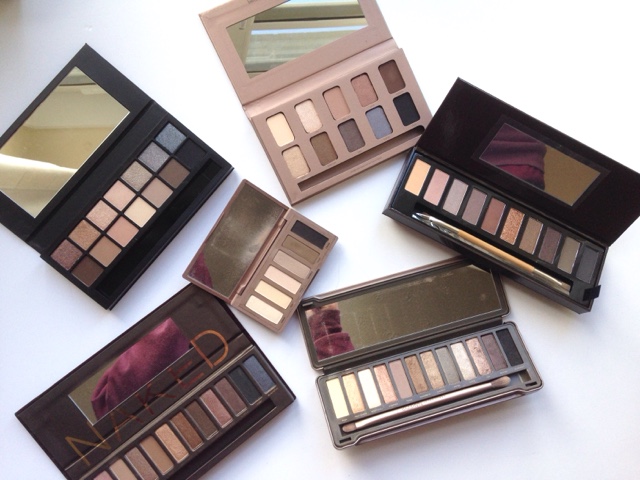
If you have a huge eyeshadow palette, you might be wondering how to use them best. Besides experimenting with different color combinations, there are basic rules that you always need to remember.
• Apply a darker shade of eyeshadow near or towards the outer corners of the eyes to give depth.
• Blend properly by blurring the border between the natural skin color and the eyeshadow.
• Apply light colors first over the whole eyelid.
• Then, blend intermediate colors beginning with the outer corners of the eyes. The inner corners should only have lighter colors.
• Lastly, apply darker colors near the lower and upper lash lines and the outer corners of the eyes.
5 Tips to Color Your Hair Like a Pro at Home
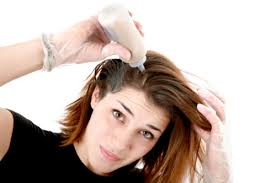
Posted by Editor on Jun 22nd, 2018 in Beauty | 0 commentsIf you don’t have the luxury of time to sit for four hours in a salon to have your hair dyed, then you’re probably thinking that coloring your own hair at home is the best way to go. Well, it should be, as long as you follow these important hair coloring tips.
1. Do Not Trust the Photo On the Box
The photo on the box can be deceiving. Read the description and see swatches instead. You can also search it up on Google to find photos of actual hair color of a certain hair dye brand. Also, do the necessary research to find out what certain terms, like ashy, golden and blonde, really means and how they differ. You will also encounter words like ‘undertone’ and ‘shades,’ so make sure to read up before purchasing a box.
2. Match Your Skin Tone
This is the trick to get the most suitable hair color and to avoid color wash-out after rinsing your freshly dyed hair. According to hair experts, if you have fair skin with a hint of pink undertone, cool tones work well on you. For people with yellow undertones and lean toward medium to dark skin tone, warm shades of hair color look gorgeous on you.
3. Reds are Tricky to Pull-Off
Red is a fun hair color, especially if you want to shake things up a bit. However, make sure to choose the right red for your hair. If you want a coppery red result and your hair is quite blonde, go down at least a shade darker, or else you’ll end up with pinkish or orangey colored hair. If your current hair color is somewhere between hazelnut to medium brown, go up a shade, or you won’t notice any change at all.
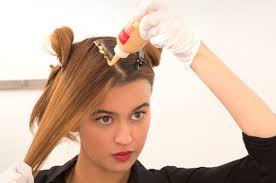
4. Read and Strictly Follow Instruction
When dying your hair at home, it’s important to read everything on the label and follow instructions from start to finish. Read and understand what’s stated on the box; don’t just wing it. Get yourself a timer and maybe a little help from someone to help you apply the formula. Leaving the hair dye on your hair for too long or cutting the process short can undermine the results majorly.

5. Condition Your Hair Afterwards
Once the timer goes off, rinse out your hair without shampoo (or if the box contains a rinsing shampoo, use it). Use your fingers to scrub your hair from roots to tips. Then, rinse it all off and watch the water until it runs down clear. Finally, and most importantly, condition your hair. There is usually one included in the box. Since your hair was soaked in chemicals, it is in dire need of conditioning.
It can be challenging to dye your own hair at home. But if you simply read and follow the instructions, and perhaps do a bit more of research, you will surely get the color your want for your crowning glory.
Best Ways to Exfoliate Your Sensitive Skin
Posted by Editor on Aug 31st, 2017 in Beauty | 0 commentsEven the most delicate skin type requires some exfoliation. In fact, allowing your skin to renew and regenerate itself could help in making it stronger later on. What’s more amazing is you won’t be using harsh chemicals and scrubs just to do it. Here, we listed down five alternative products that help you exfoliate your sensitive skin sans irritating it.
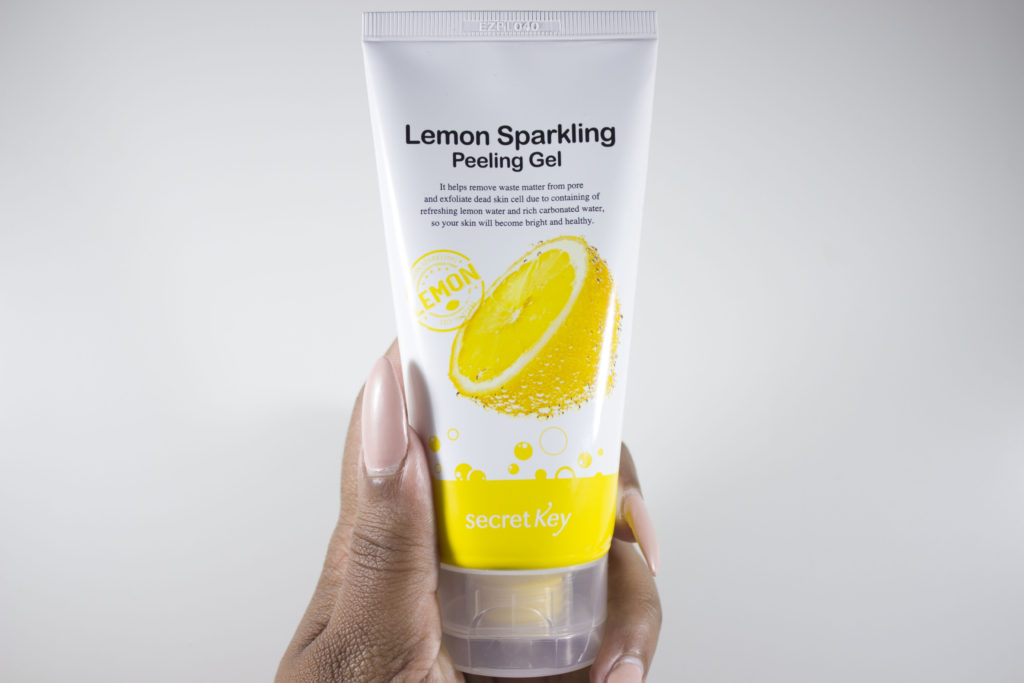
1. Peeling Gels
The word “peeling” might alarm you at first, but believe us when we say that these cleansers are really gentle. All you’ve got to do is massage the gel on your skin for a few seconds, or until the dead skin cells form small clumps that you can easily wash off.
2. Muslin Cloths
Using harsh scrubs won’t be necessary if you just exfoliate your skin on a regular basis. If you’re thinking of going the gentle exfoliation route, then use a warm muslin cloth to wipe any excess product after cleansing your face. It is old school, but it’s definitely effective.
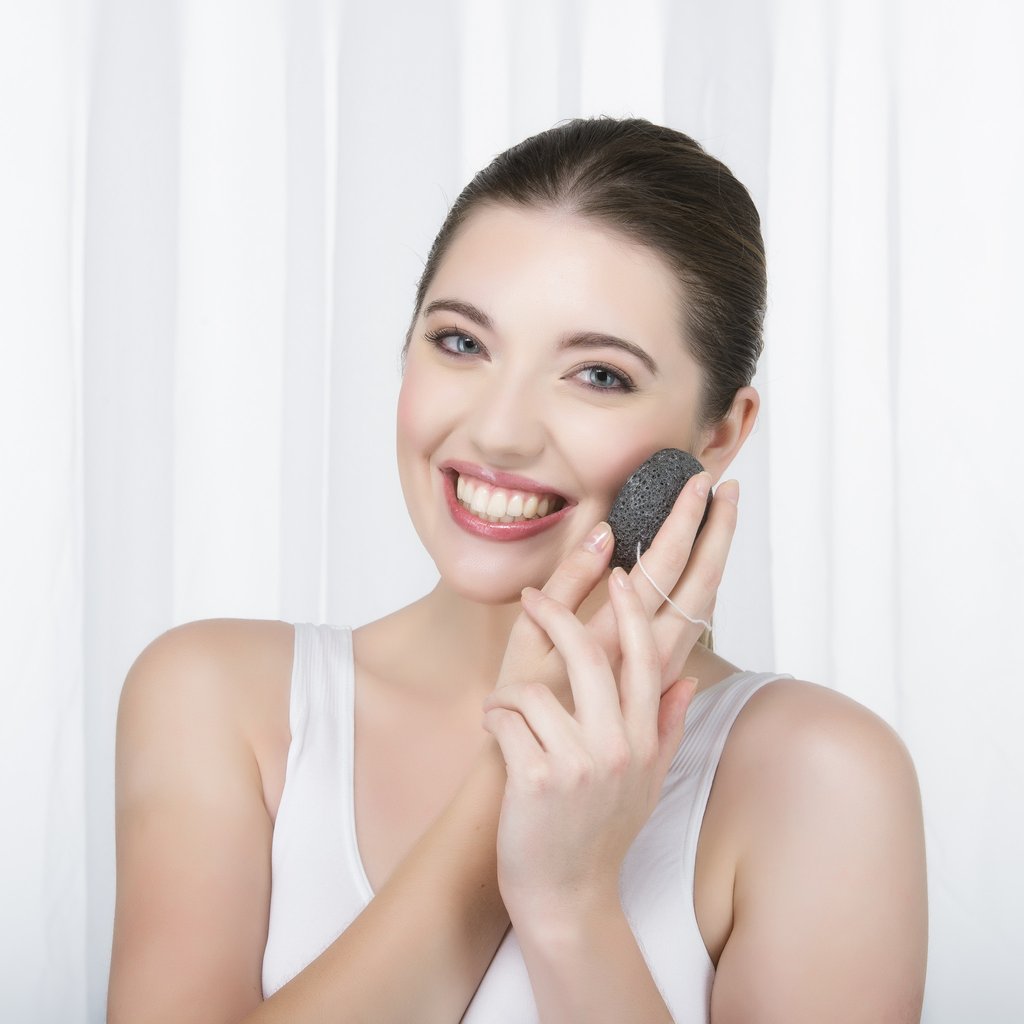
3. Konjac Sponges
Sponges aren’t only fit to use for applying makeup and washing the dishes, and that’s what konjac sponges will prove to you. Use it to lightly scrub your skin before rinsing the foam like you usually do.
4. Pore Brushes
Pore brushes are a neater alternative to your good old facial sponges and cloths. Hailing from the Korean beauty department, pore brushes are renowned for their soft bristles that softly removes the dead skin cells. They also help your facial wash in performing a deeper cleanse by allowing it reach the inner nooks and crannies of your face.

5. Chemical Exfoliant
Unlike the previous exfoliation options, a chemical exfoliant uses exfoliating acids to get rid of dead skin. For instance, glycolic acid exfoliate the topmost layer of the skin to unclog your pores and refine your skin texture. It does all that without rubbing or tugging your skin. Even if this option is perfect for sensitive skin, however, dermatologists suggest to avoid using them on a daily basis. Your skin needs to build a tolerance for the acid to work.
Exfoliating sensitive skin isn’t as difficult as you think. In fact, simply using the aforementioned beauty tools will already help in getting rid of dirt and pollutants on your face without irritating your skin. So ditch your good old scrubs now and opt for these exfoliation tools and products instead.
Tricks to Keep Your Skin Hydrated On the Plane
Posted by Editor on Aug 19th, 2015 in Beauty, Travel | 0 commentsWe all wanted that fresh-from-vacation glow, but if you’ve ever been on a plane then you know that travelling takes a rather huge toll on your skin. Not only does the cabin air cause skin dryness and clogged pores, it can even trigger acne breakouts. So to help you maintain your skin’s hydration during a long haul flight, we’ve rounded up some tricks that’ll surely keep your skin under control and hydrated even when you’re hundred feet above the sky.

- Prep Up. The night before your flight, make sure that you exfoliate your skin and put on some moisturizing mask. This will help in clearing out the dead skin cells and deeply hydrating your skin as the mask penetrates. Also remember that long flights can make your body skin suffer from dryness as well, so it would be good to perform some dry skin brushing to prep up your body too.
- Pack the Right Products. If you’re having a long flight, then it’s crucial that you pack all the right skincare products with you. Make sure that you bring your face cream, hand cream, lip balm and hydrating mist with you – and that all of them are packed under 3.4 ounces so that you can get through the security. Once you’re on-board, apply these products more frequently than you normally would.
- Wear Less Makeup. When travelling by plane, it’s best that you wear lighter makeup than you usually do. Sticking with your heavy powders and foundations will only make you look dry and patchy. Instead, use a nourishing moisturizer, a BB cream, and tinted lip balm. Going with these products will leave your facial skin free for some extra moisturizing on-the-go.

- Use the Right Hydrating Mist. Most people use a hydrating mist to counteract dryness, but what they don’t know is spraying on the wrong water mist only makes things worse. Once the mist has evaporated, your skin dries out more. To avoid this, pack a rosemary, aloe or calendula mist instead. These hydrating mist options will provide with the right moisture that you need without completely drying out your skin.
- Nourish Your Body. Remember that the foods that you eat also affects your skin’s appearance. Indulging on fatty, greasy meals and tanking up on caffeine or alcohol will only cause your skin to become dull and dry. Instead, bring along some healthy snacks for your flight such as fruits and nuts. Also, make it a habit to carry your own water bottle and drink from it regularly.
The fresh-from-vacation glow is actually quite easy to achieve. Just keep these travel skincare tricks in mind, and you’ll surely have a healthy and youthful-looking skin even after flying hundred feet above ground.

5 Tricks to Trim Your Bangs at Home
Posted by Editor on Aug 15th, 2015 in Beauty | 0 commentsSelf-trimming our hair on a regular basis is something that we’re not really skilled at, which is why we treat ourselves to hair appointments when we’re looking to change our look on a major way, or when our strands just need some good trim. But it’s an entirely different story when you have bangs. So if you don’t have the time to regularly get your professional bang-trim, here are some easy trimming tricks that you can do to maintain the look of your bangs.

- Use the Right Trimming Tools. Using the right tools is one of the most important steps in getting a perfectly trimmed bangs. So instead of settling for your kitchen scissors, buy a good pair of hair-cutting shears in any beauty supply store in your area. They aren’t that expensive so you don’t have to worry about your budget.
- Work With Dry Hair. You might notice that your stylist cuts your hair after being washed, but when it comes to trimming your bangs, it would be best to cut it while it’s dry. Cutting them while wet may leave you with shorter bangs. If you find it rather difficult to cut dry hair, simply run a wet fine-toothed comb over your bangs to gather your hair and cut them better.
- Tie the Rest of Your Hair. To avoid cutting more bangs that you need to, tie the rest of hair in a ponytail, only leaving your bangs out. It’s quite easy to get excited and accidentally cut your bangs much wider than you planned.

- Start With the Centre to the Sides. In trimming bangs, stylists recommend starting from its centre then gradually working your way to the sides. You can use a comb to pull down small sections of your hair up to where you want it to stop in your forehead. When you’ve reached one end, start from the centre again and work your way to the other side. Remember to only make small snips as you move towards one side to avoid any unwanted cuts on your bangs.
- Measure it Frequently. Instead of overdoing it in a hasty snip-session, do take your time in trimming your bangs and check it frequently to ensure that both side are evenly snipped. Ruffle it gently using your fingers to see if there are any unevenness. If you’re happy with the results, good for you; if not, simply repeat the last two steps until you’re satisfied with the cut.
Trimming your bangs require both time and patience. So keep these tricks in mind to ensure that you’ll be able to get the look that you want the next time you have your bang-trim session.