

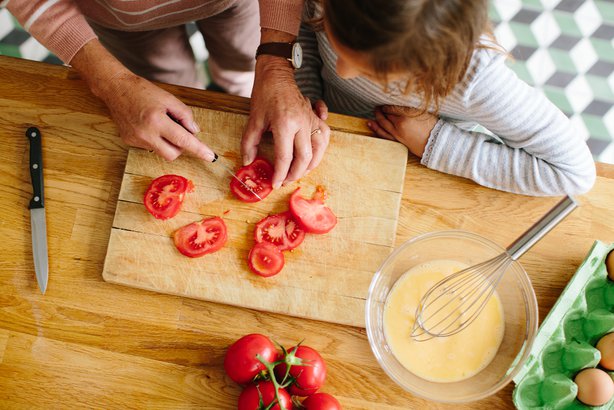
Rules for Eating Sushi at Traditional Sushi Restaurants
Posted by Editor on Jan 15th, 2020 in Food, Social Niceties | 0 commentsSushi can be found anywhere around the world nowadays, but nothing beats the experience of being served at a traditional sushi restaurant. However, to fully enjoy the experience, you also need to learn the art of eating sushi. Here are the dos and don’ts you need to remember.

- Call ahead to make reservations especially if you are coming as a group. This is also a good idea if someone in the group has dietary restrictions so that the restaurant can make adjustments.
- If you want to see how sushi is made up close, you should sit at the sushi bar. However, you should never order drinks and other items from the sushi chef or itamae. You can only order sushi at the counter, while other orders are handled by the crew.
- Do not take photos without asking for permission especially if you are sitting at the sushi counter.
- Some restaurants are lenient when it comes to wearing perfume, but part of the appeal of sushi is the aroma of the fresh food. If you are planning to go to a sushi restaurant, do not wear your perfume.

- To best enjoy your experience, start with sushi with the mildest flavor especially if you are in a conveyor belt-type restaurant. But to be safe, follow the recommendations of the sushi chef on what to eat first.
- Don’t leave your food on the table if you do not like it. It is impolite to have leftovers, so ready your palate if you want to try to eat at an authentic sushi restaurant.
- It is okay to ask for specific items on the menu especially if there are seasonal items offered on the list.
- You might be offered a hot towel before the meal. This is called oshibori and is used to wash your hands. Make sure to fold it back the way it was given to you after you use it.

- Some sushi types should be consumed by hand while others will need chopsticks. For example, nigiri-zushi can be eaten with the hands, but sashimi needs chopsticks.
- Each sushi is meant to be consumed as one piece, so do not cut up a piece to make smaller portions. That is considered impolite.
- If you are served ginger or gari, you should only eat it between each sushi piece as it is meant as a palate cleanser. Do not eat it with the sushi.
- If you are given a bowl of soup without spoon, you are expected to pick up the bowl and sip from it.

- In some traditional restaurants, you will be expected to drink alcoholic beverages only before and after being served sashimi. The itamae considers most sushi not complementary with sake because they are both rice-based.
- If you have alcoholic beverages on the table, however, you will be expected to pour for your companions. Do not pour a drink for yourself. It is also customary for the most senior in the group to pour the drinks for the others.
- If you are giving tips at the bar, you may do so separately for the itamae for serving sushi and the crew who served you the drinks and other items. In some traditional restaurants, the tips are included in the bill.
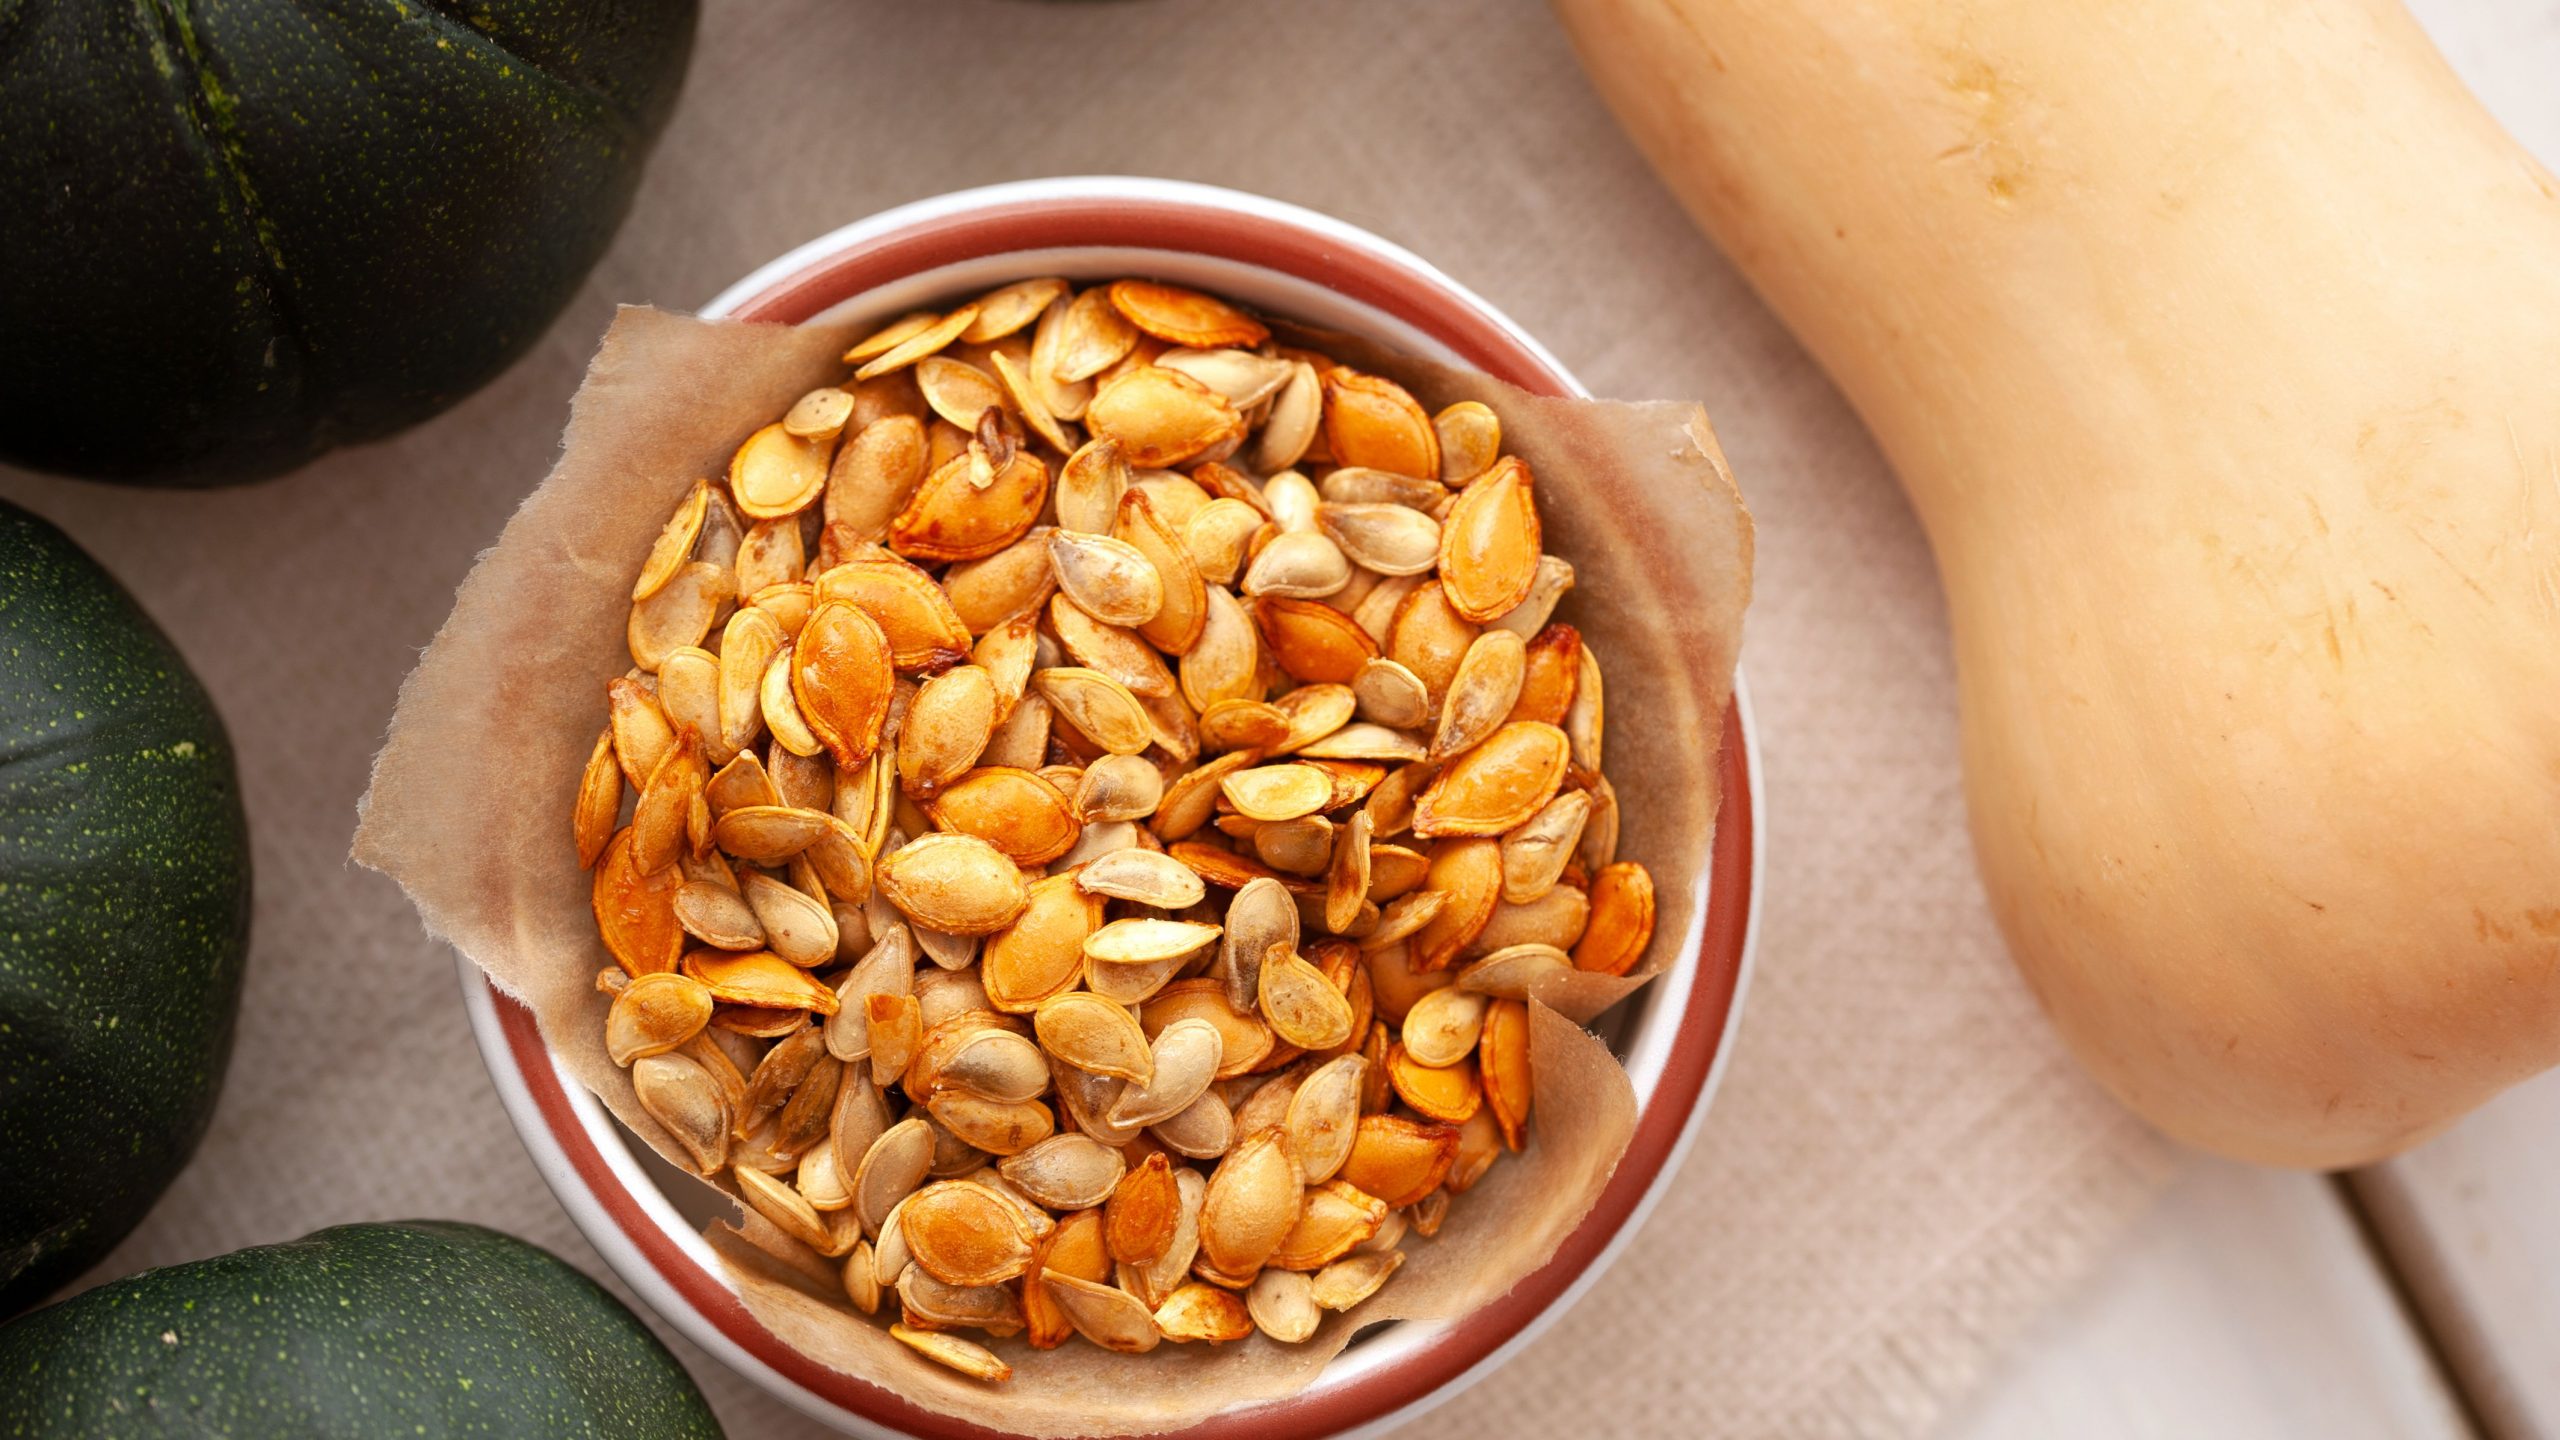
A Quick Guide on How to Roast Squash Seeds
Posted by Editor on Nov 21st, 2019 in Food | 0 commentsDid you recently open up a whole squash and wonder how you can use the seeds rather than just throwing them away?
Well, wonder no more and start keeping those seeds – you can make a healthy snack out of them to munch on anytime you want!
A single ounce of squash seeds makes for a great snack that’s rich in nutrients like magnesium, which has been linked to promote better sleep quality. This makes them the perfect snack when you’re finally done pulling out that all-nighter and you’re ready to settle down for some much-needed shut-eye.
Kinds of Squash
You can roast seeds from different kinds of squashes, like the following:
- Spaghetti
- Buttercup
- Acorn
- Butternut
- Kabocha
- Delicata
Ingredients
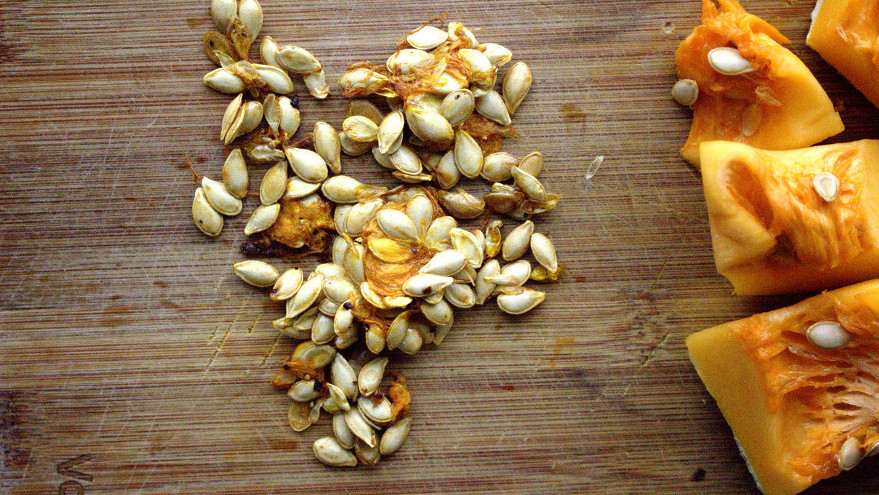
All you need to start roasting pumpkin seeds is a half-cup of raw seeds, a few pinches of salt, and two tablespoons of melted butter. Alternatively, you can also add a drizzle of olive oil instead of melted butter if you want to go for a low-fat option.
Once you have them, it’s time to start roasting your seeds.
Directions
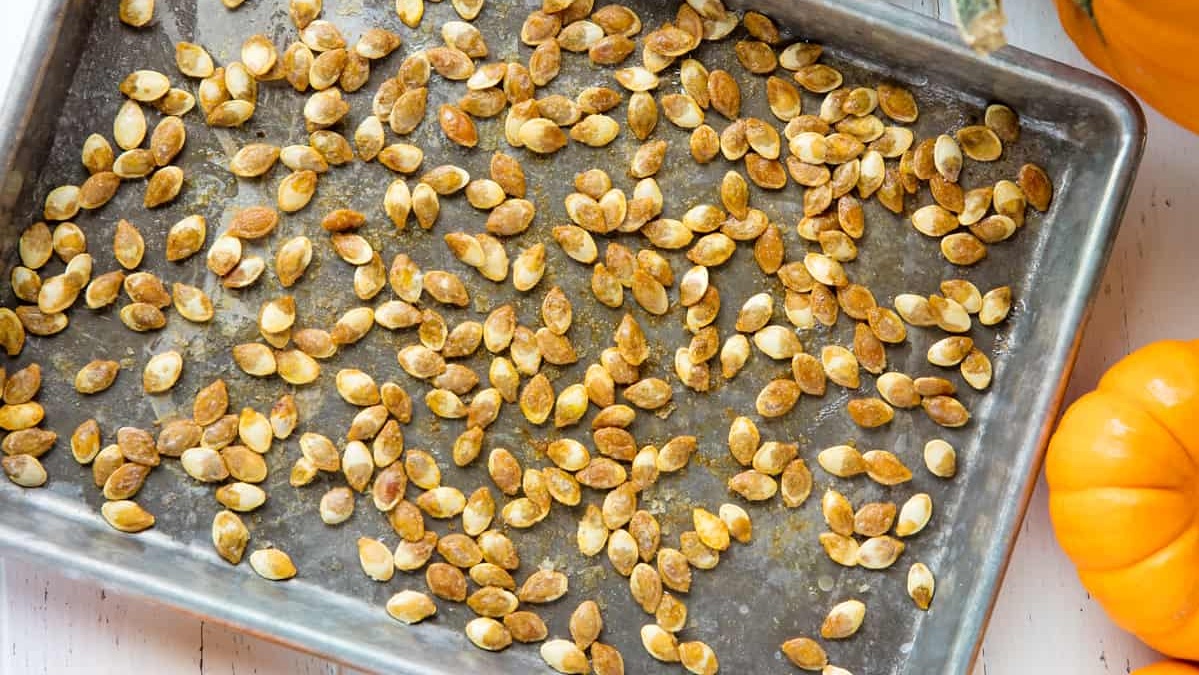
Preparing this healthy snack is really simple. Once you have everything you need, all you need to do is follow these steps:
- Preheat your oven to about 300 degrees Fahrenheit or 150 degrees Celsius.
- Toss the seeds in an oven-safe bowl along with your melted butter and salt to taste. Mix until all they are evenly coated.
- Spread the seeds in a single layer on a baking sheet and let bake until golden brown, which usually takes about forty-five minutes. Remember to take them out once in a while and stir occasionally to ensure they are heated evenly.
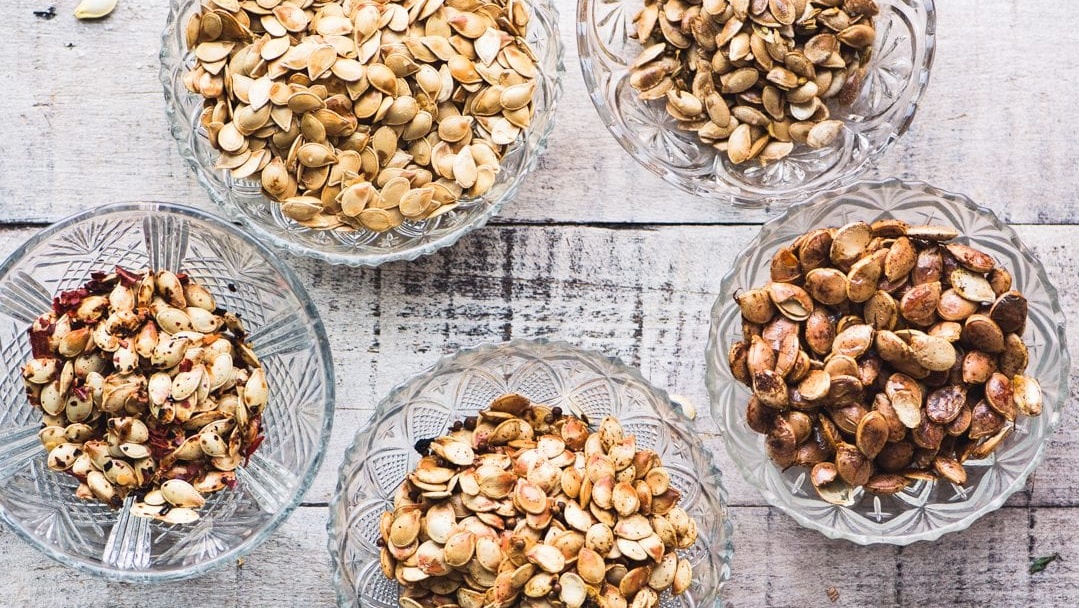
- Add spices to taste. However, this step is completely optional – you can enjoy them salted or even unsalted if you like!
Storage
If you’re already hooked on pumpkin seeds and want to make them a regular snack for all occasions, here’s what you need to do to store your raw seeds for a later time:
- Place your seeds in a colander and run them through a faucet to wash out the skin or any remaining strings of pulp.
- Set the seeds on paper towels and let them dry in the open air overnight. Drying them thoroughly allows the seeds to be more crispy when they come out of the oven later on.
- Once the seeds are fully dried, place them in an airtight container.
Keep in mind that they only last for up to a week when stored in the refrigerator, so you want to roast them within that time so they don’t spoil.
6 Scary Cooking Hazards You Need to be Aware Of
Posted by Editor on May 30th, 2019 in Food | 0 commentsFor many of us, cooking is a fun past time activity. It can be a bonding session with your beau or with the entire family. However, there are quite a lot of safety risks when it comes to preparing food. Fortunately, by simply identifying these hidden hazards, you can avoid them to ensure that your kitchen is a safe and healthy place for all your culinary activities.
1. Storing Food in Plastic Containers
Reusable plastic containers are convenient for storing food and cutting down on waste, but they can contain harmful chemicals that may leach into your food. BPA, which is known to be a hormone disruptor, is quite common in food containers made of plastic. Since you don’t want any harmful chemicals on your food, opt for glass containers or at least buy food storages that says BPA-free on the label.
2. Cross Contamination
Washing your hands properly and more frequently can’t be stressed enough, especially when handling raw food like meat, fish and poultry. Similarly, sponges and countertops can also be sources of contamination. Use paper towels along with soap and hot water for easy disposal every time you need to clean up surfaces.
3. Thawing on the countertop
Thawing your frozen meat on the kitchen countertop may be a convenient way to warm up the food. However, doing it on your countertop exposes the food’s outer layer to temperatures where bacteria can thrive while the center of the food is still frozen. Always thaw your food inside the fridge or soak it in warm water for safe thawing.
4. Tasting Raw Batter
Unless you’re baking vegan food, licking the bowl or spoon of the batter can pose a health risk. Raw eggs in your batter mixture may contain salmonella, which can cause serious illnesses. If you must taste the batter, do so before adding in the eggs.
5. Shattering Glass Bakeware
Glass dishes are versatile—can be used for storage, baking, and are dishwasher- and microwave-safe. They just do it all for you! Perhaps, their only weakness is going from one extreme temperature to another. This means taking out a hot dish from the oven and placing it straight to a cold countertop may cause the dish to crack and shatter.

6. Microwaving Wrong Items
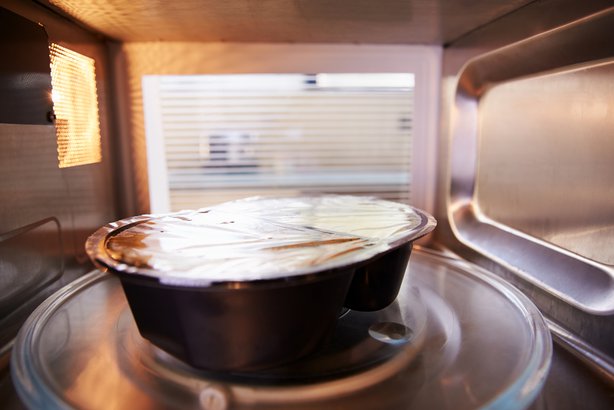
Most of us know that anything metal, including aluminum foil, shouldn’t be microwave, but other items like plastic can melt as well—even if it says ‘microwavable.’ Heating plastic can break down, causing its particles to seep into the food, which can be toxic when ingested. Stick to glassware at all times if you need to heat or cook food in the microwave.
Cooking should be fun and any homemade food should be safe for the entire family to eat. Ensure your and your family’s safety by preparing your meals the best way possible.
Delicious Fermented Products You Can Make at Home
Posted by Editor on Mar 18th, 2019 in Food | 0 commentsFermented foods have recently made a comeback, and more people are now starting to ferment their own food at home. And it’s not just great for your body – it’s also great for your budget if you love the stuff but can’t keep buying it.
In fact, here are some of the different fermented products you can start making at home right now:
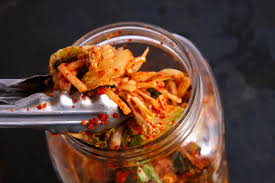
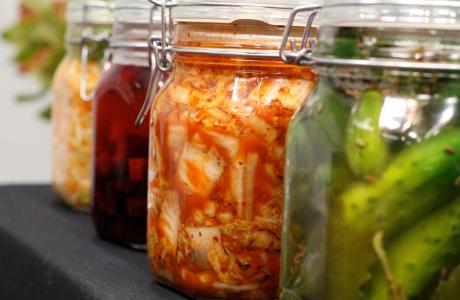
Kimchi
This spicy Korean side dish made of vegetables is perhaps the most recognized fermented dish in the world, which is great if you have a knack for spicy foods, but it’s also really easy to make in your own kitchen.
When making kimchi at home, be sure to use sea salt (or salt that isn’t iodized or doesn’t have anti-caking agents), as this can prevent fermentation from taking place.
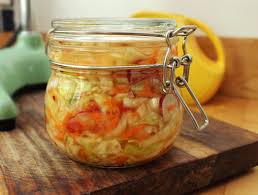
Sauerkraut
What do you do when you find yourself with a bunch of cabbages? Why, you make sauerkraut, of course!
Known basically everywhere for its crunch and pleasant sourness, it’s amazing both as a side dish and as a spread in sandwiches for a quick, healthy bite whether it’s for breakfast or a light snack.

Kombucha
With a lot of kombucha flavors commercially available, it’s easy to forget that this is essentially tea that’s mixed with sugar.
And when you’re the one making it yourself, not only will you get this treat for a fraction of what you would usually pay for it, but you can also play around with different teas and fruits until you find the flavor that works for you.
Sourdough Bread
Sourdough bread is made differently than other types of bread because it uses dough that’s been allowed to ferment with wild yeast and naturally-occurring bacteria that break down the gluten in wheat flour.
Not only is this great to make and keep around if you happen to be sensitive to gluten, but it’s also rich in minerals such as iron, calcium, and magnesium.
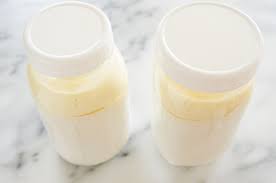
Milk Kefir
While not exactly yogurt – milk kefir, or fermented milk, is a little more watery – it has between twenty and sixty probiotic strains and contains more nutrients than you would find in a cup of regular yogurt.
And because it’s fermented, as much as 99 percent of all the lactose in milk has been broken down by the bacteria, which makes it safe for those who are especially sensitive to dairy products.
These are just some of the many dishes you can start making at home – there are a lot more that you need to try out. Not only are they all delicious and healthy for your whole family, but making them also means you have cheap, nutritious food all year long.
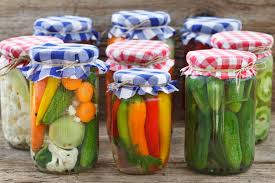
How to Ferment Your Own Vegetables in 4 Easy Steps
Posted by Editor on Mar 18th, 2019 in Food | 0 commentsFermenting vegetables is made possible with lacto-fermentation, a process of preserving food that allows it to retain its nutrients for a long time. This is a great way for keeping nutritious food at home easily accessible all year round, especially with fresh produce.
And while it seems intimidating at first, the process of fermenting vegetables is actually simpler than you would think. All you need to do is follow these steps:
1. Choosing Your Equipment
Fermenting vegetables only needs a container (preferably a glass jar) with an airtight lid, and a good chopping knife to get the vegetables to the right size that will allow them to ferment more easily.
2. Preparing the Vegetables
One of the best things with fermenting is that you can do it with any vegetable. You can choose to grate, shred, chop, slice, or even leave it whole. You can even ferment different vegetables in the same container!
3. Choosing Your Brine
There are three different brines that you can use: salt, salt and whey, or a starter fermenting culture (these are used for fermenting different vegetables and producing different finished products, but work more or less in the same way).
If you plan on using salt for fermenting, be sure to focus on the right kind of salt, as well as the right amount for the brine. Once done, prepare your brine with water.
4. Culture and Cold Storage
Weigh the vegetables under the brine and keep them in an environment without air for the fermentation process (that means keeping the lid sealed tight). Once the vegetables have finished fermenting, place them in a refrigerator or in any cold storage place.
However, because it can be difficult to tell when the vegetables are ready for cold storage, be sure to take note of the following:
• Aroma – Smell will be your biggest indicator for knowing if your vegetables are still good or have gone bad. If it’s still good, they should release a sour, vinegary aroma.
However, if your vegetables smell like spoiled food, you should discard it. Be sure to clean your container thoroughly and try again.
• Bubbling – Lactic acid bacteria release gases when breaking down the vegetables, and seeing bubbles is often a good sign that your fermentation is going well.
• Flavor – Once the vegetable ferment appears bubbly and has that sour-but-pleasing aroma, do a taste-test. Be sure to do this every day until you come across the flavor you like.
Fermenting food is a process that has been around for a long time, and when you plan on getting started, keep in mind it’s going to take a while to get to the finished product. However, once you do, the results will be both delicious and certainly rewarding.